Creating a report using the template macro allows you to have one report that a user can fill out but has the functionality to create multiple reports from one report. Excluding or including certain content for each report created.
The Report will be created as a child page of the report page and has email functionality to email a PDF copy to recipients added with in the template macro.
STEP 1 - CREATE NEW PAGE
create a new page in the desired space that you want your report to be located.
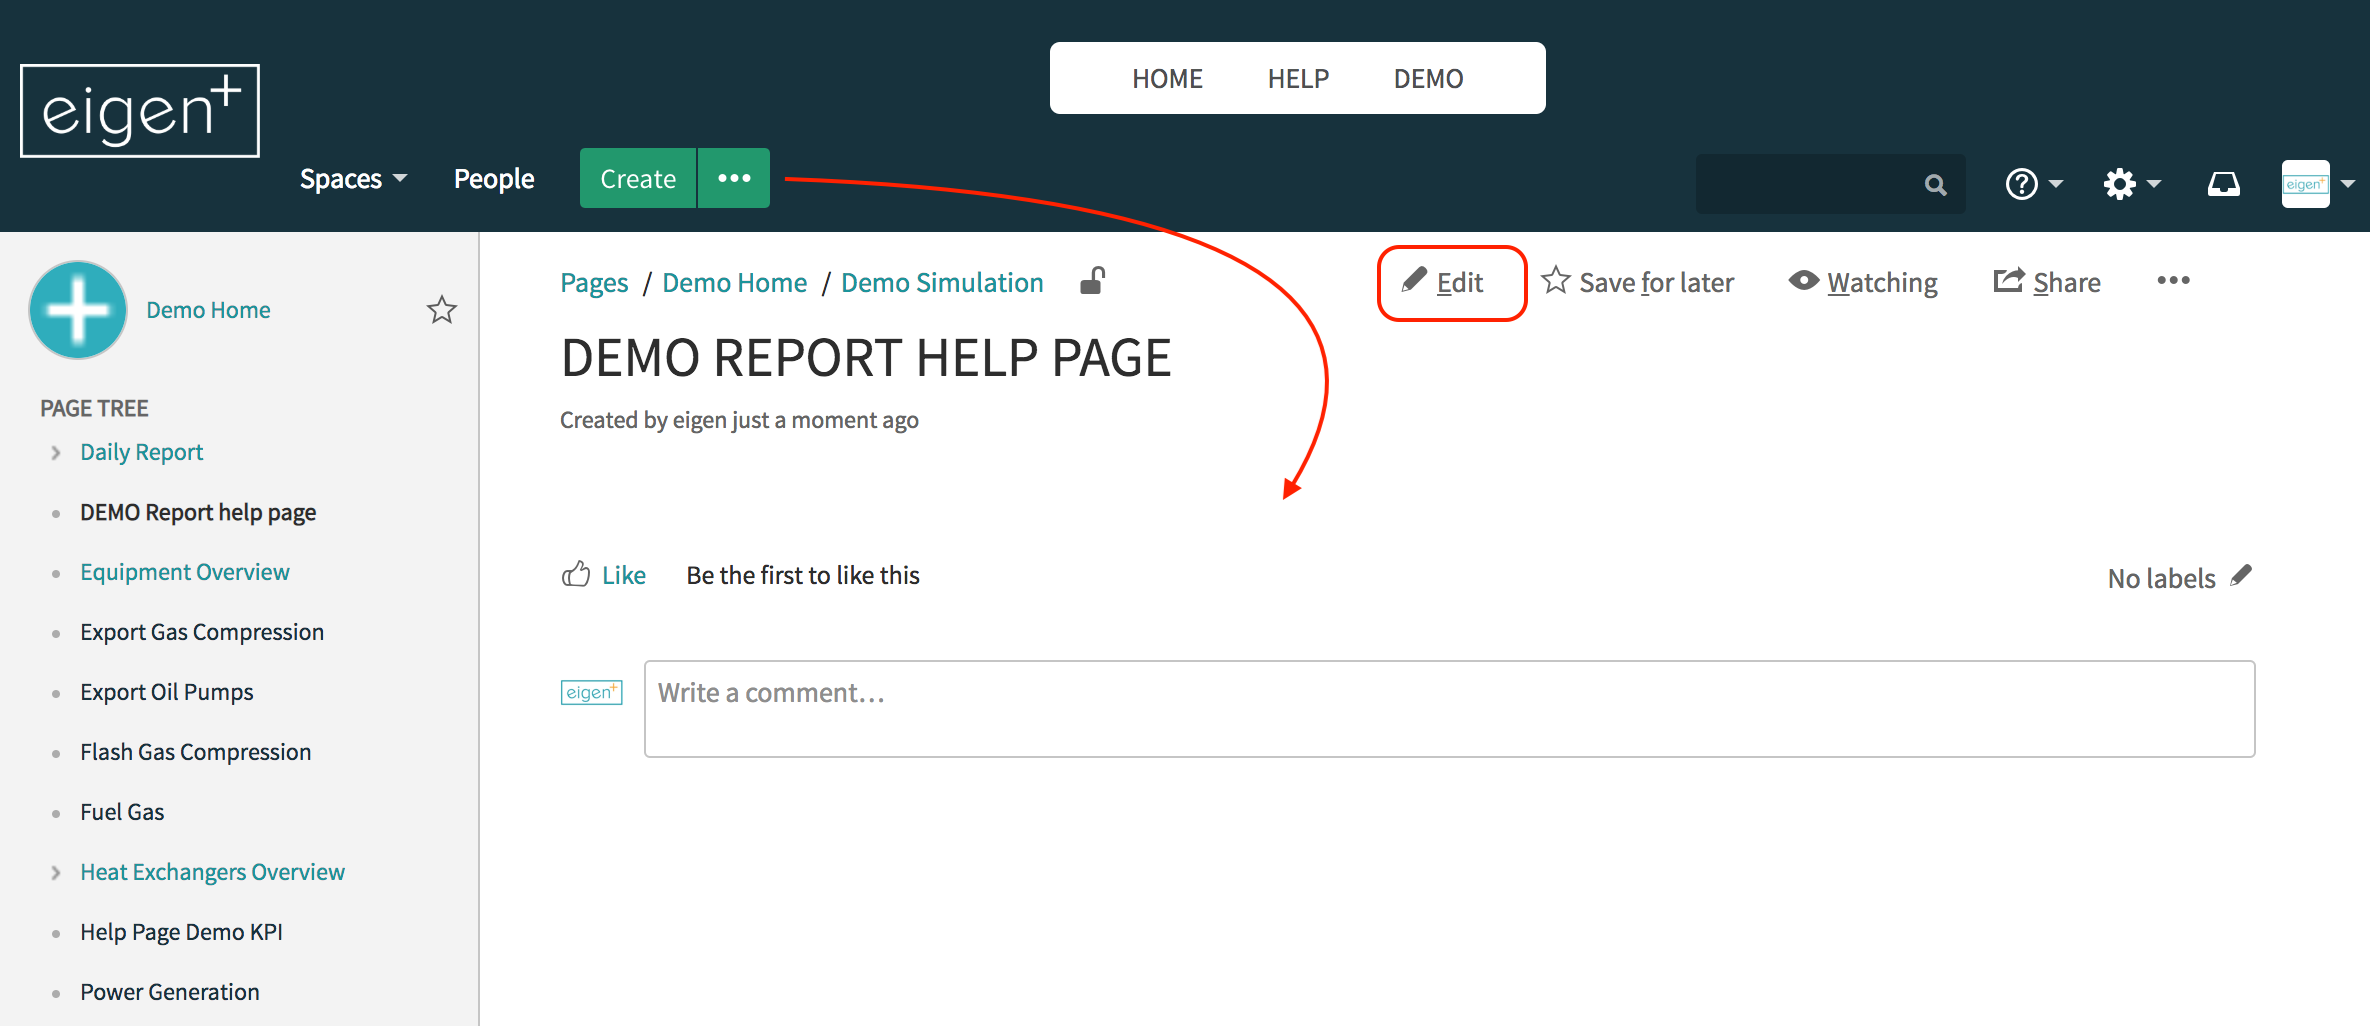
STEP 2 - CREATE A PAGE LAYOUT
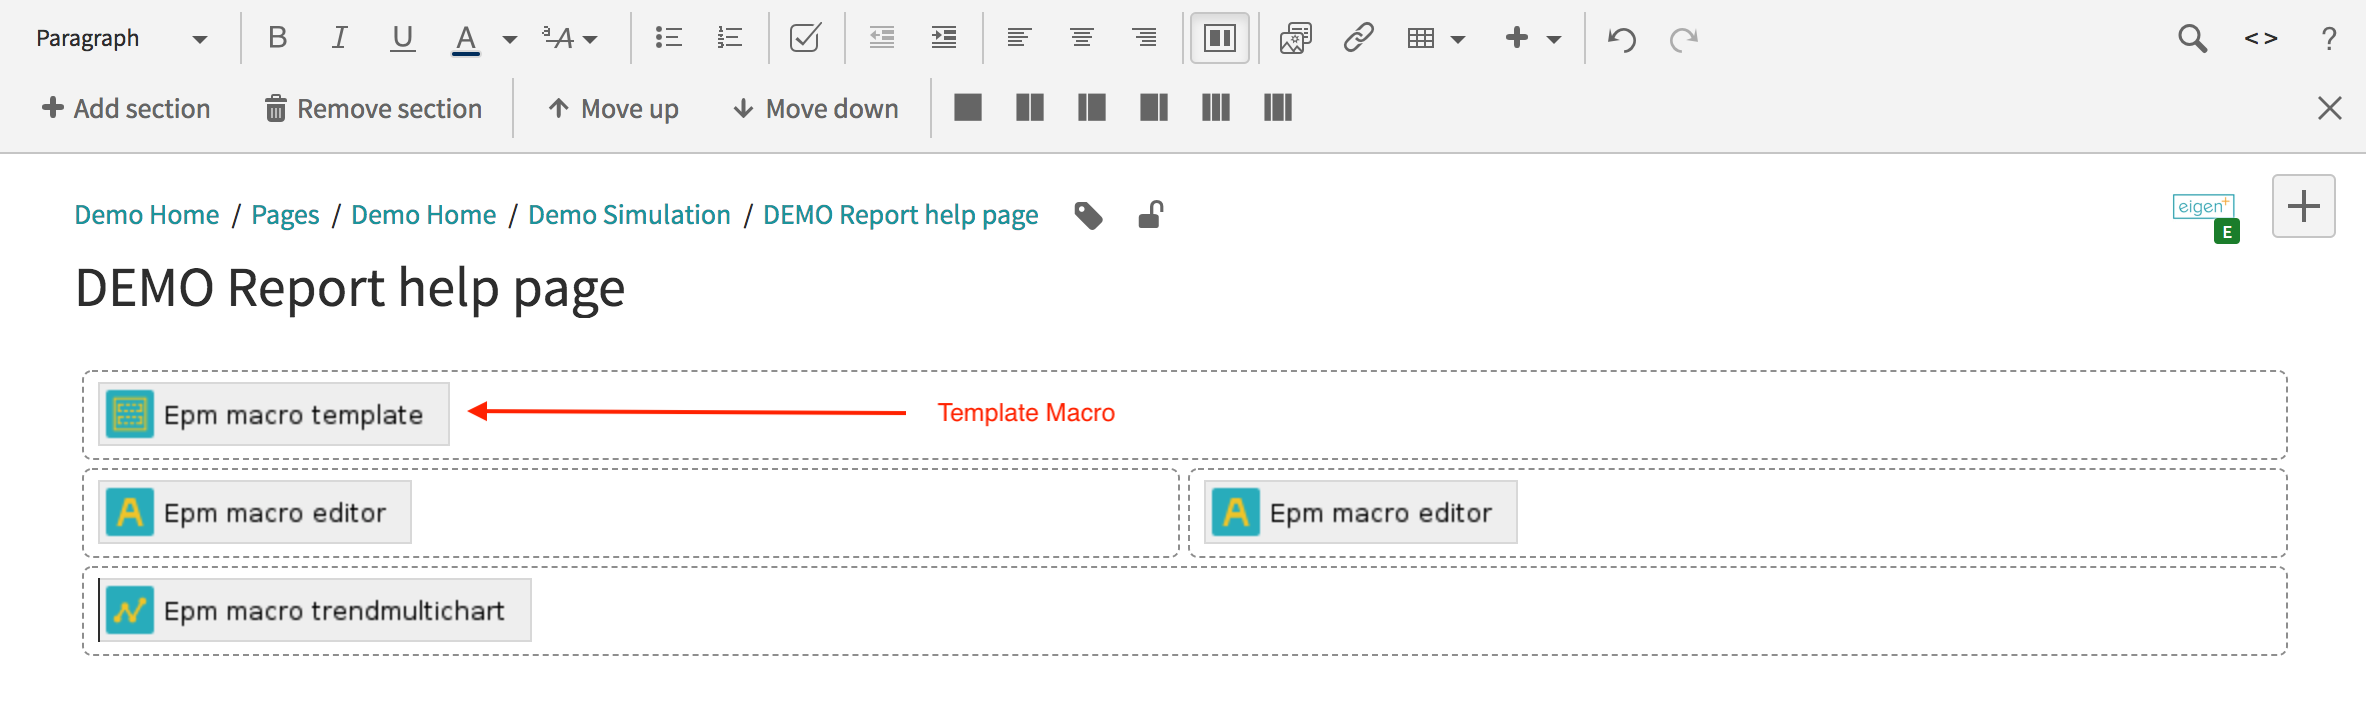
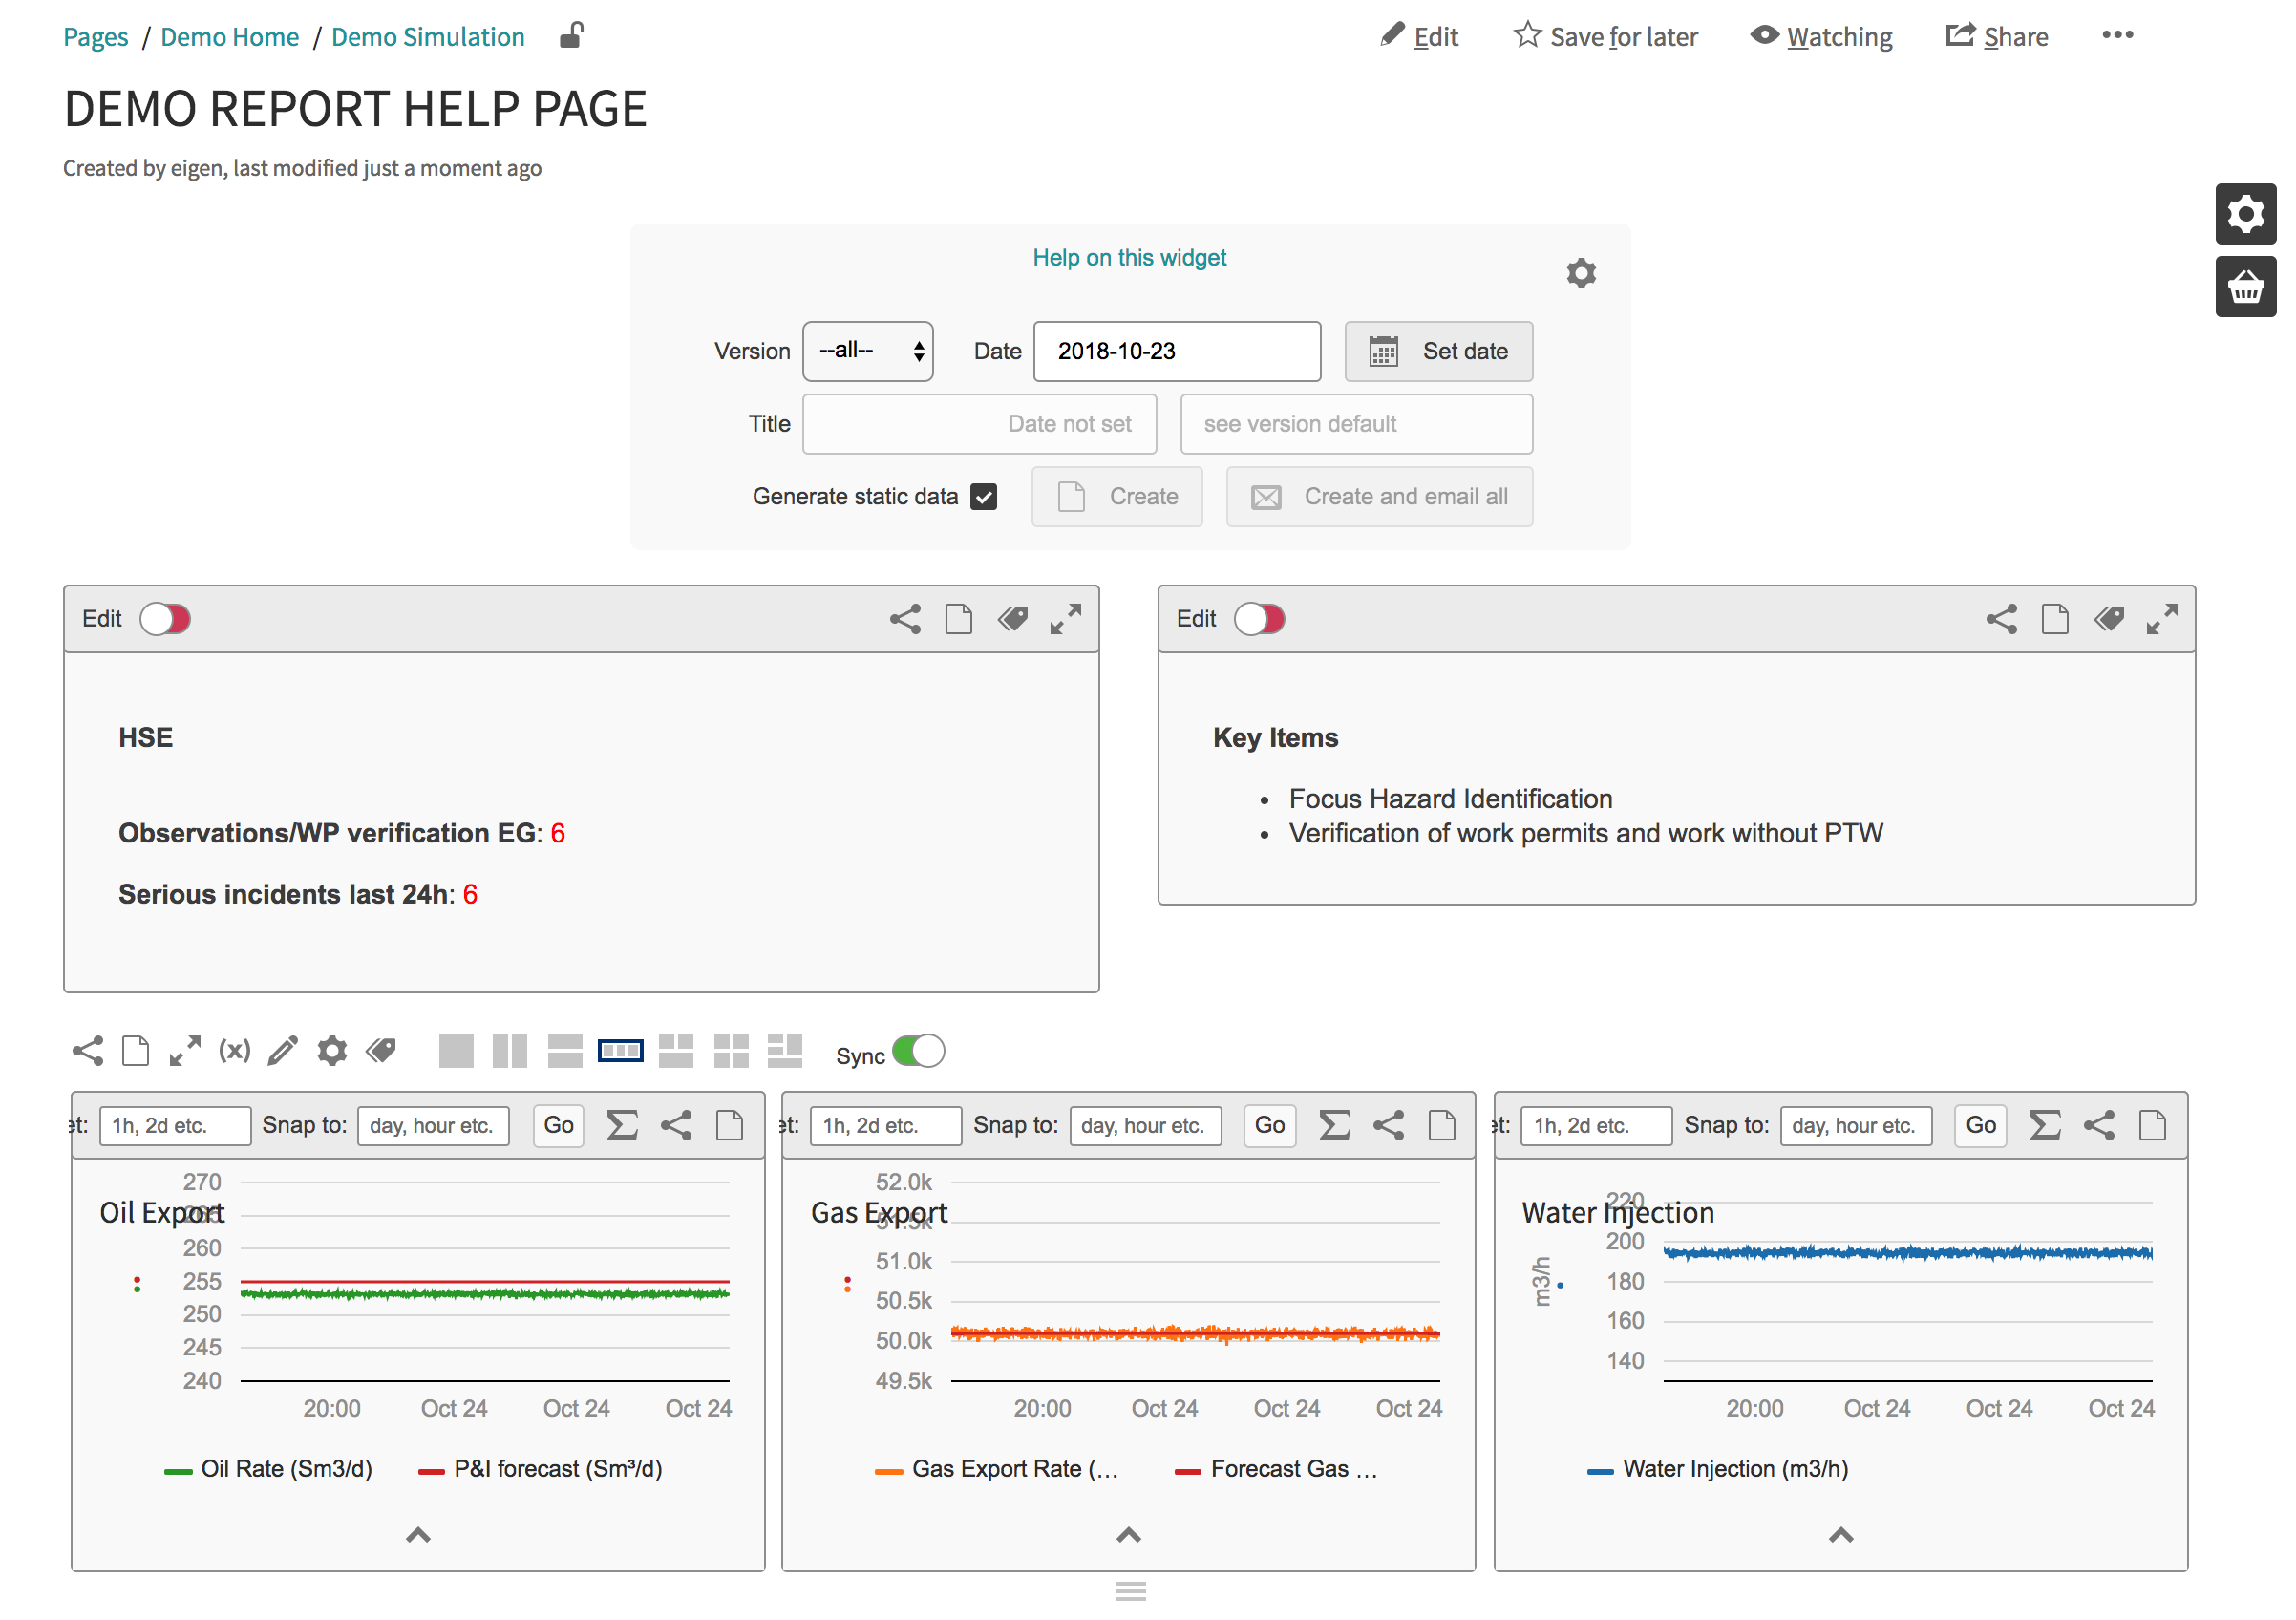
- You need to fill your page up with any relevant information that you want to include in ur report. In this one i have added some Text editors and a trend window. You must include a template macro. The location of the macro does not matter but i would recommend placing it at the top of your page.
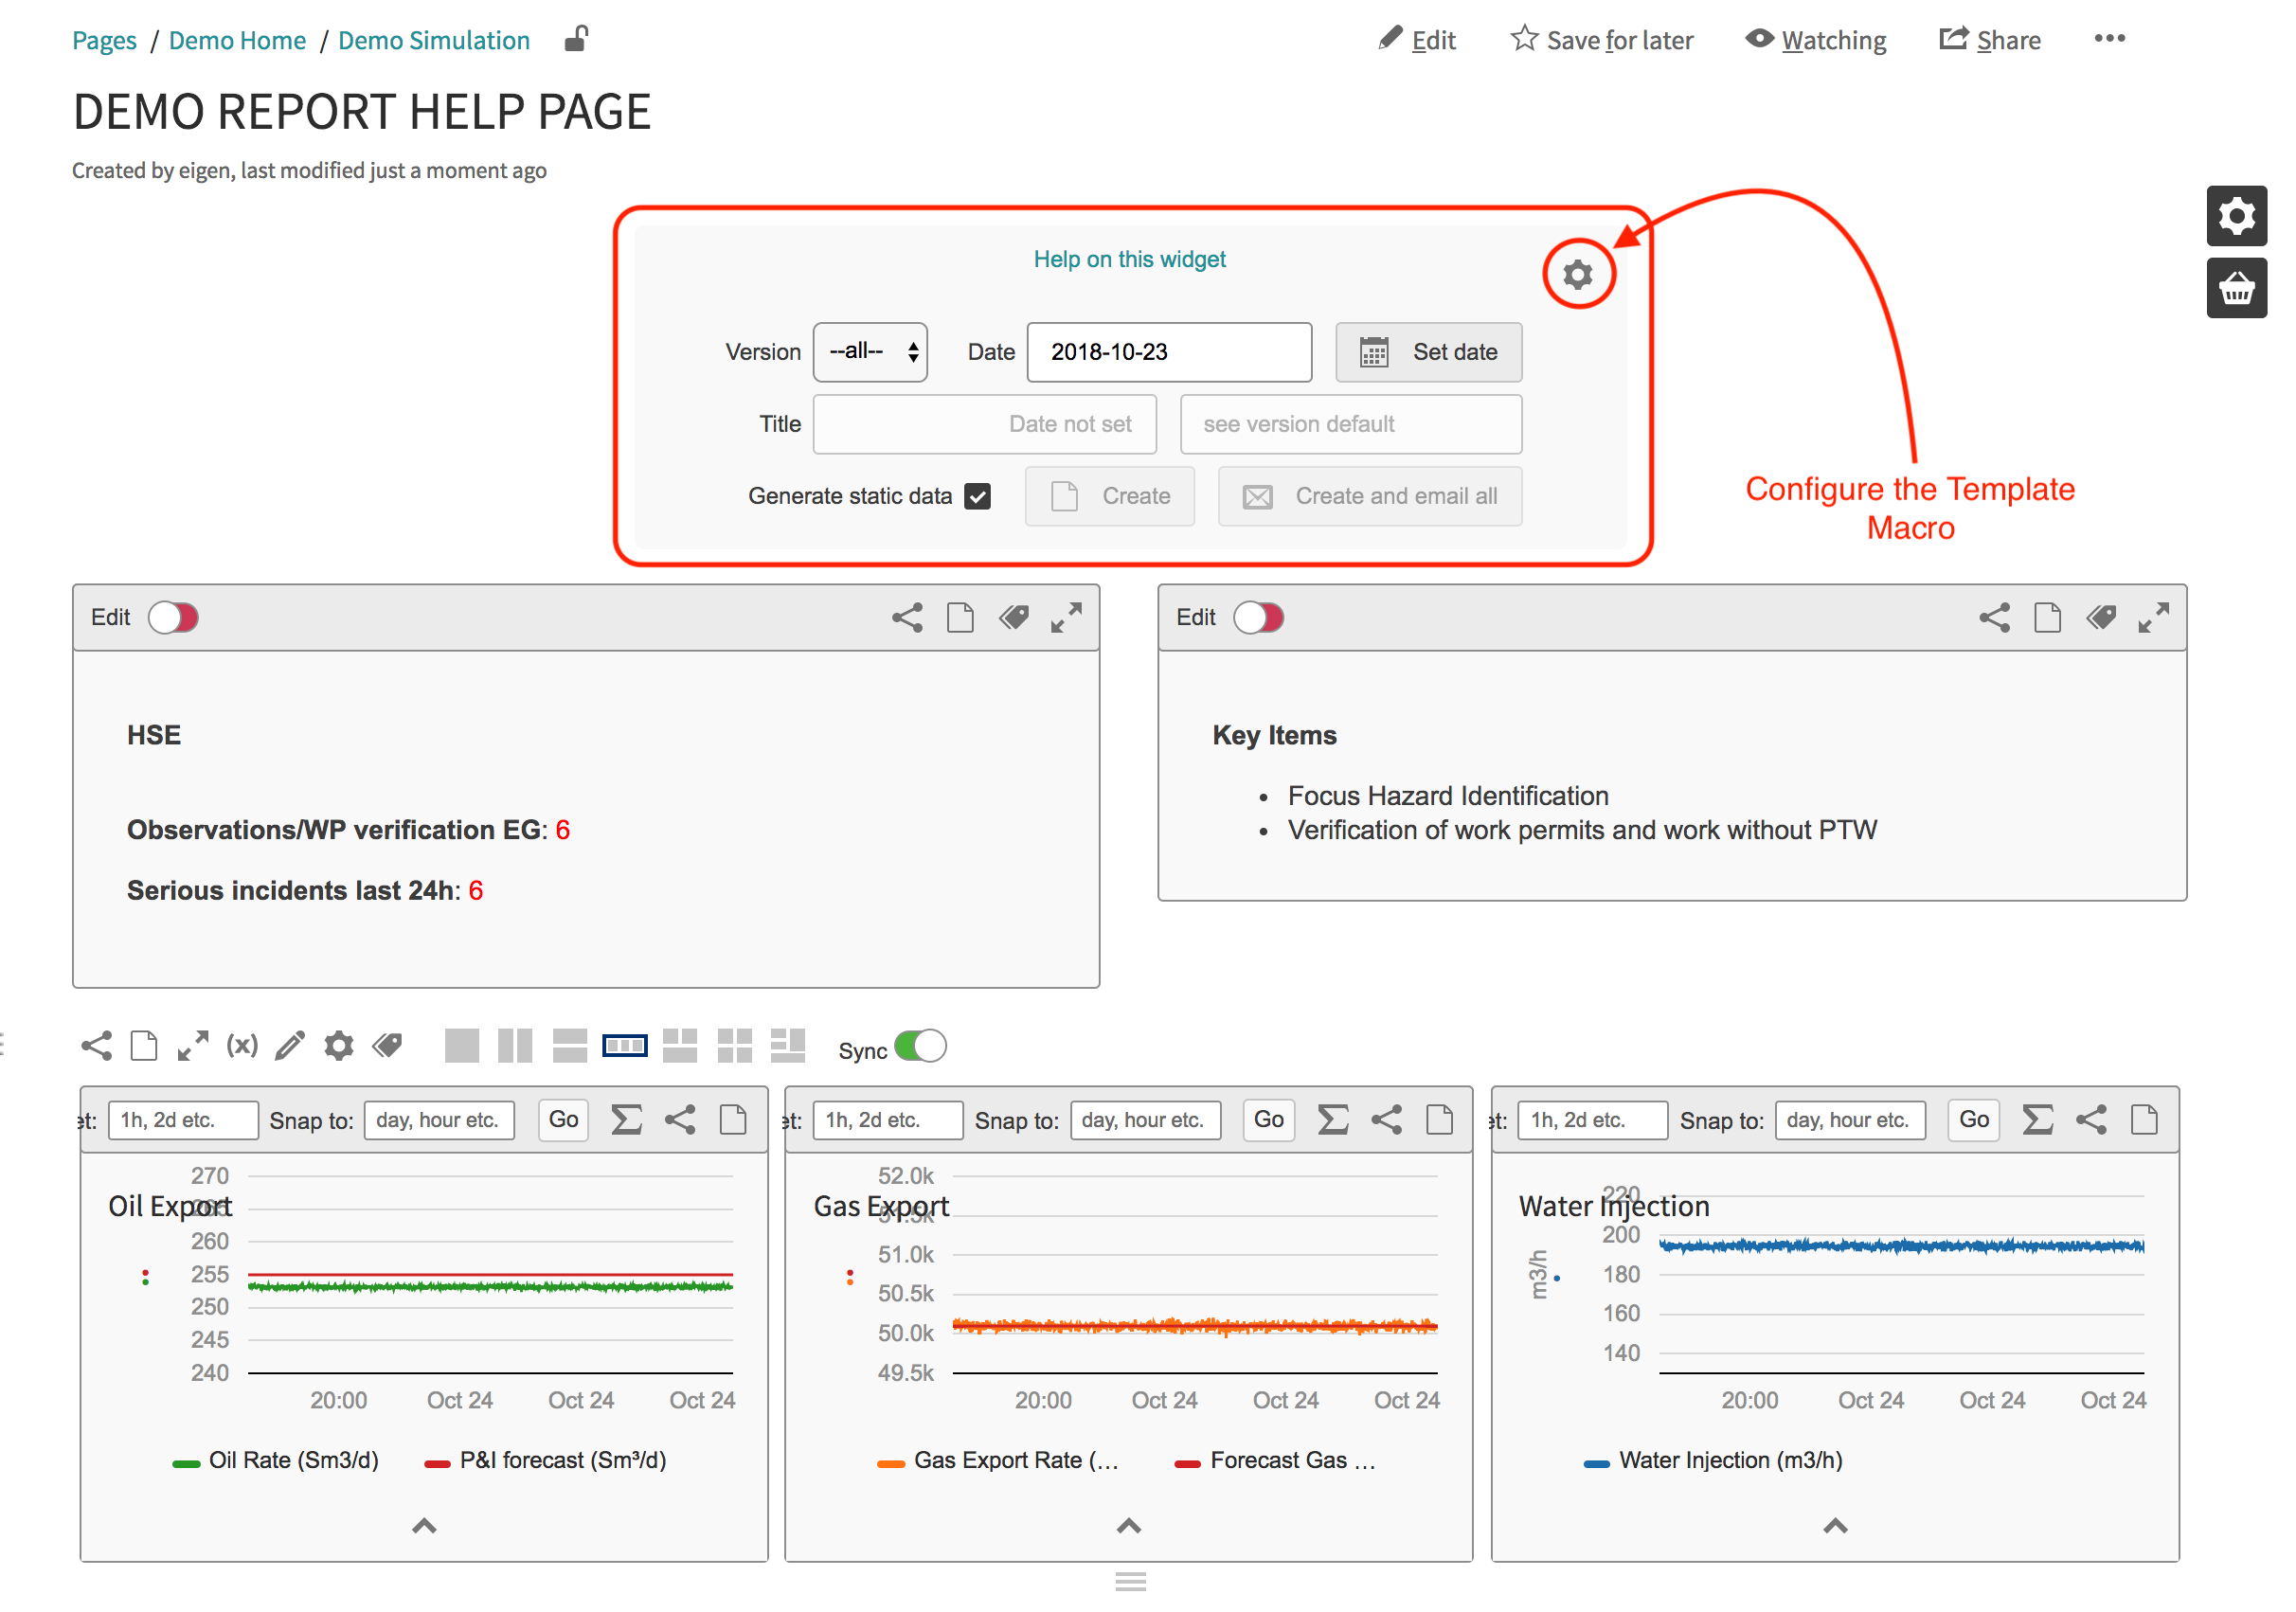
STEP 3 - CONFIGURE THE TEMPLATE MACRO
- Once you have populated your macros its time to configure the template macro.
- Click on the settings icon
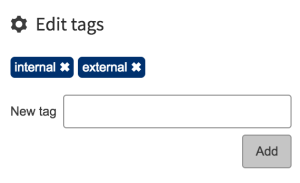
Step 4 - CREATE REPORT VERSIONS (INTERNAL)
- Delete any content thats default in the macro using the delete icon.
- Its now time to create different versions of your report.
- You need to decide how many versions of the report you want to be created.
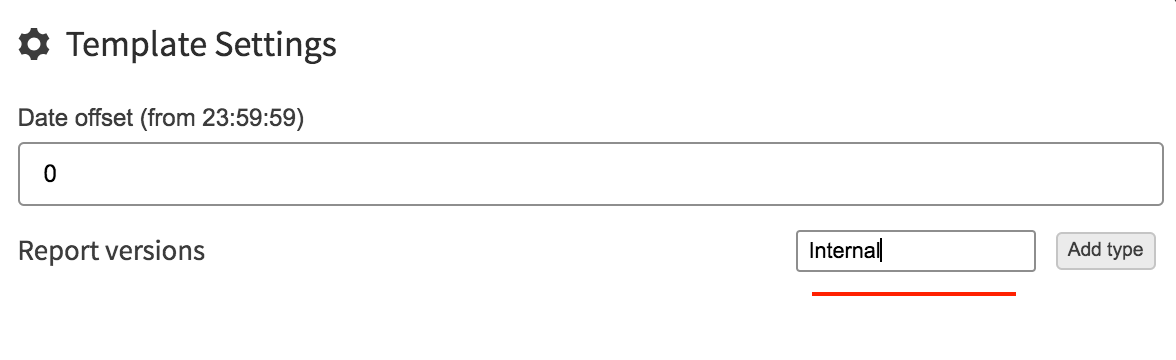
- In this example we are going to create "internal and external"

- Type internal and click add
STEP 5 - CONFIGURE INTERNAL REPORT
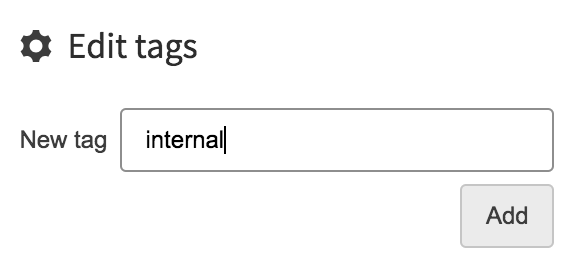
- You need to add a reference tag to the report. this is going to reference the other macros and decide weather its included in this report.
- So here were configuring the internal so Im going to use a tag called internal. Any name is usable but it makes it easier to reference the report type.
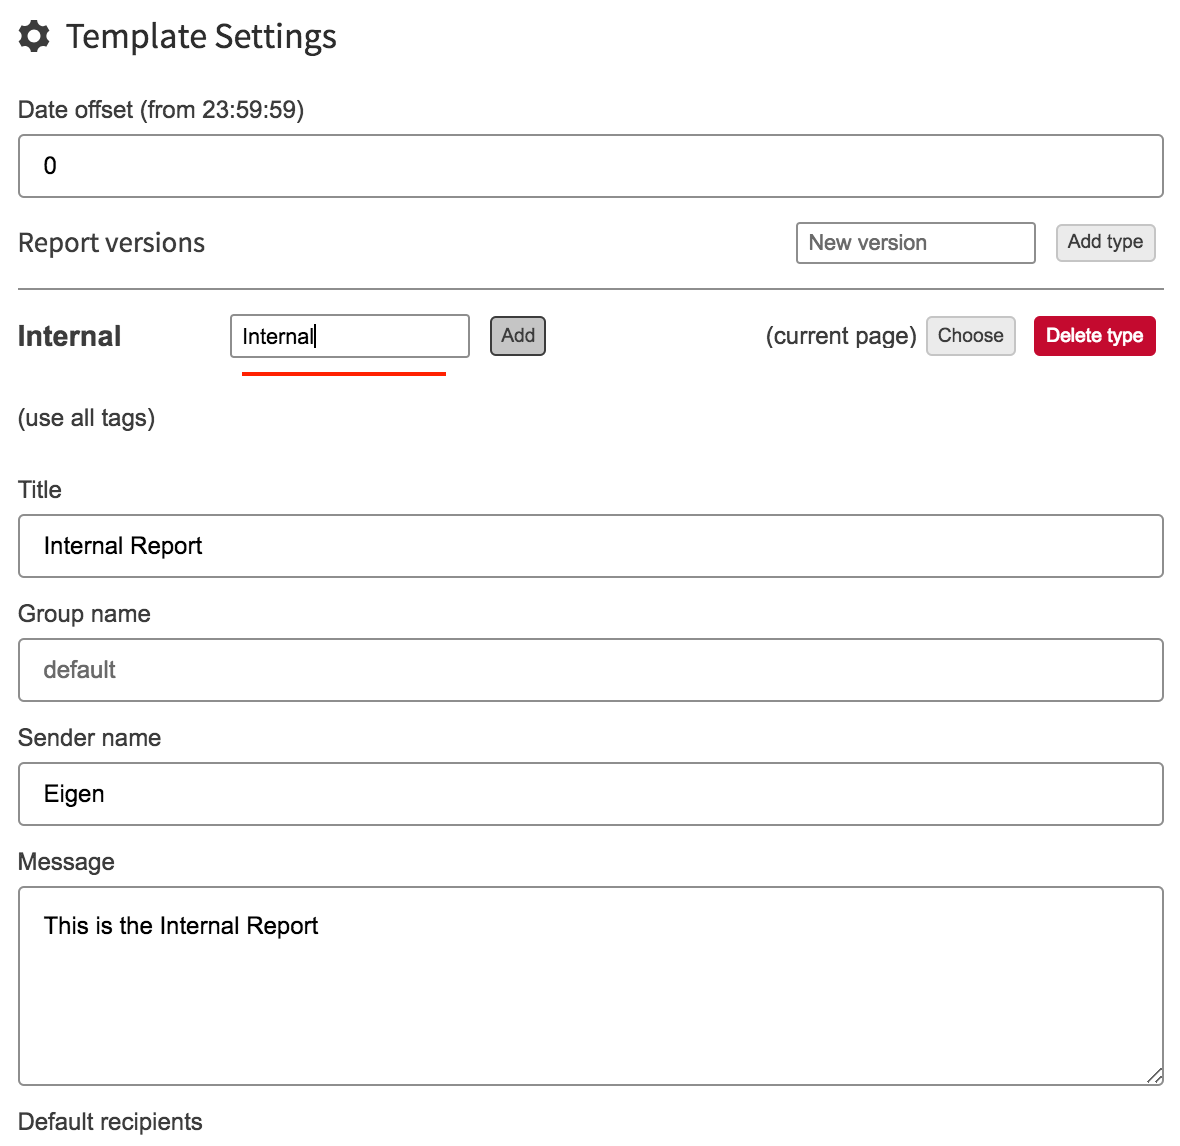
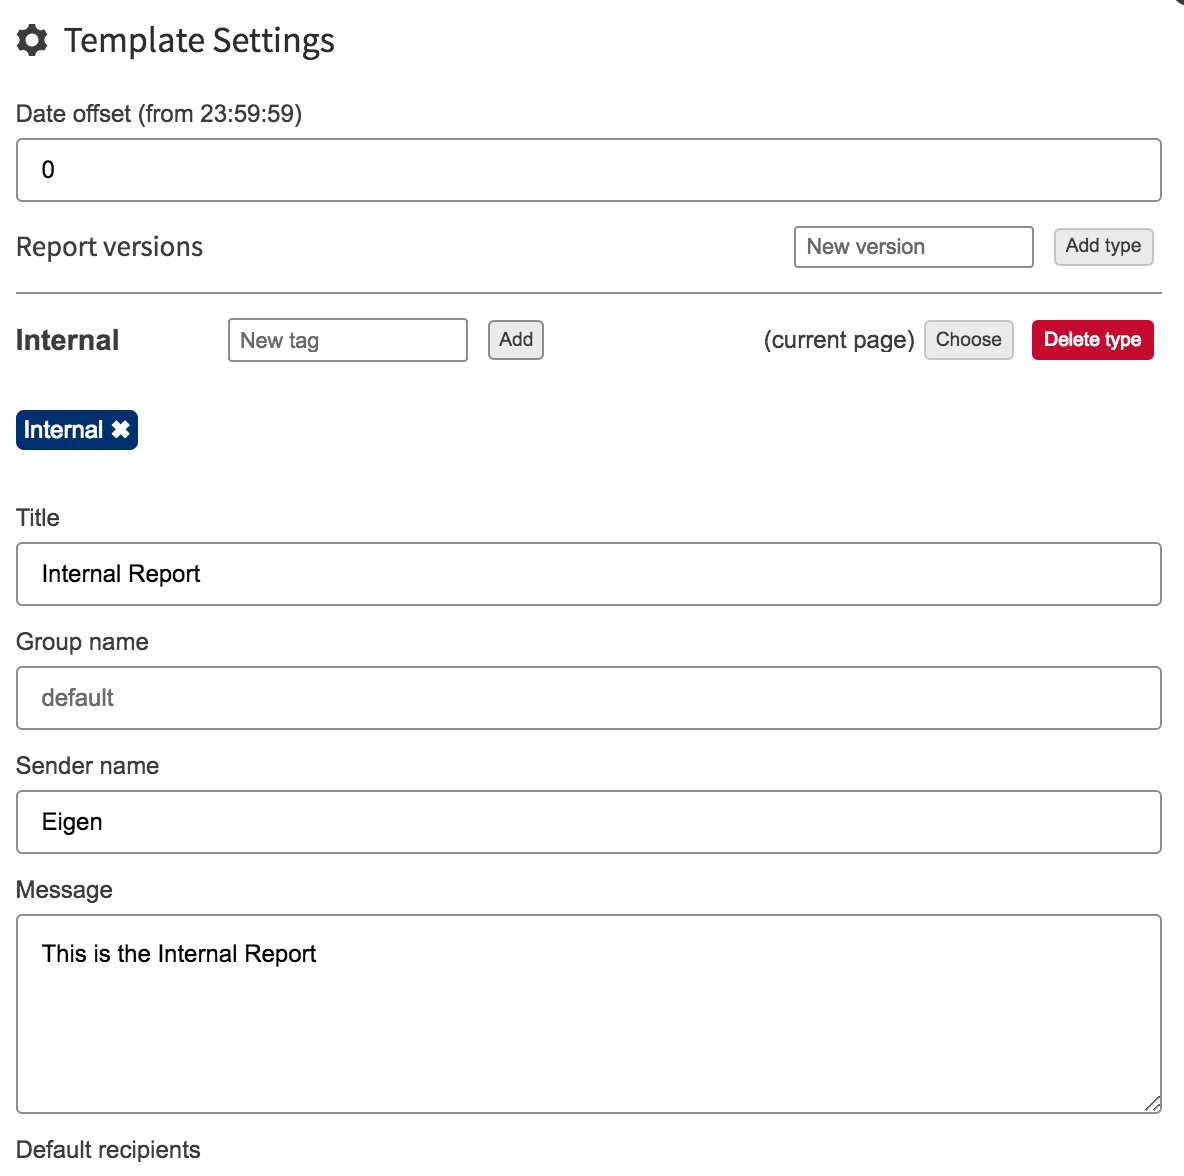
- This will link the tag to the report
STEP 6 - CONFIGURE EXTERNAL REPORT
- Lets follow the same steps as used to create the internal and create an external report
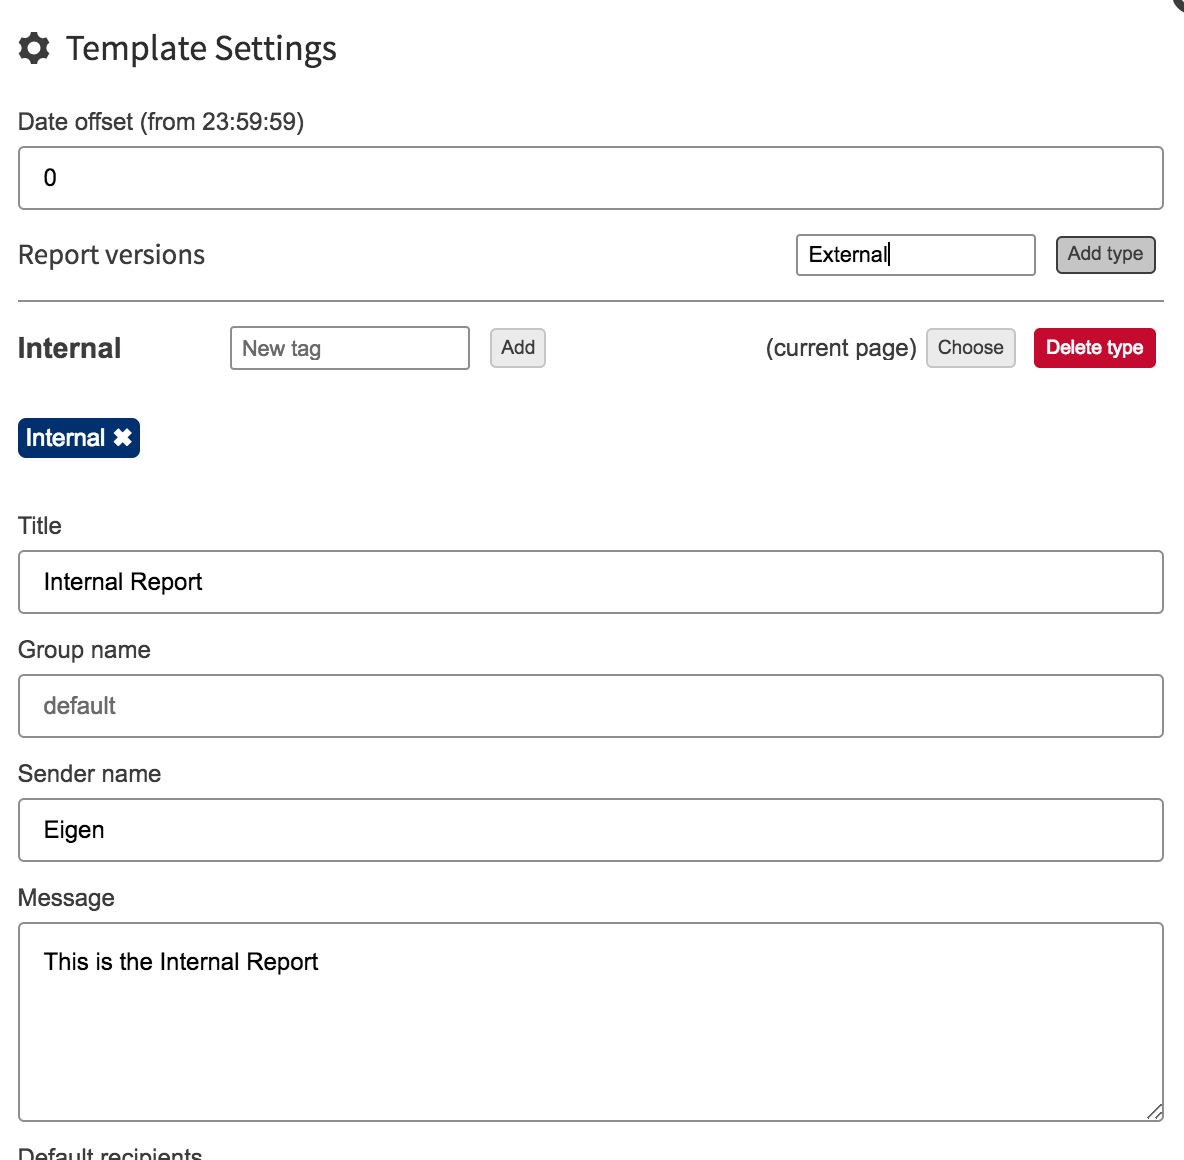
- Add an external tag
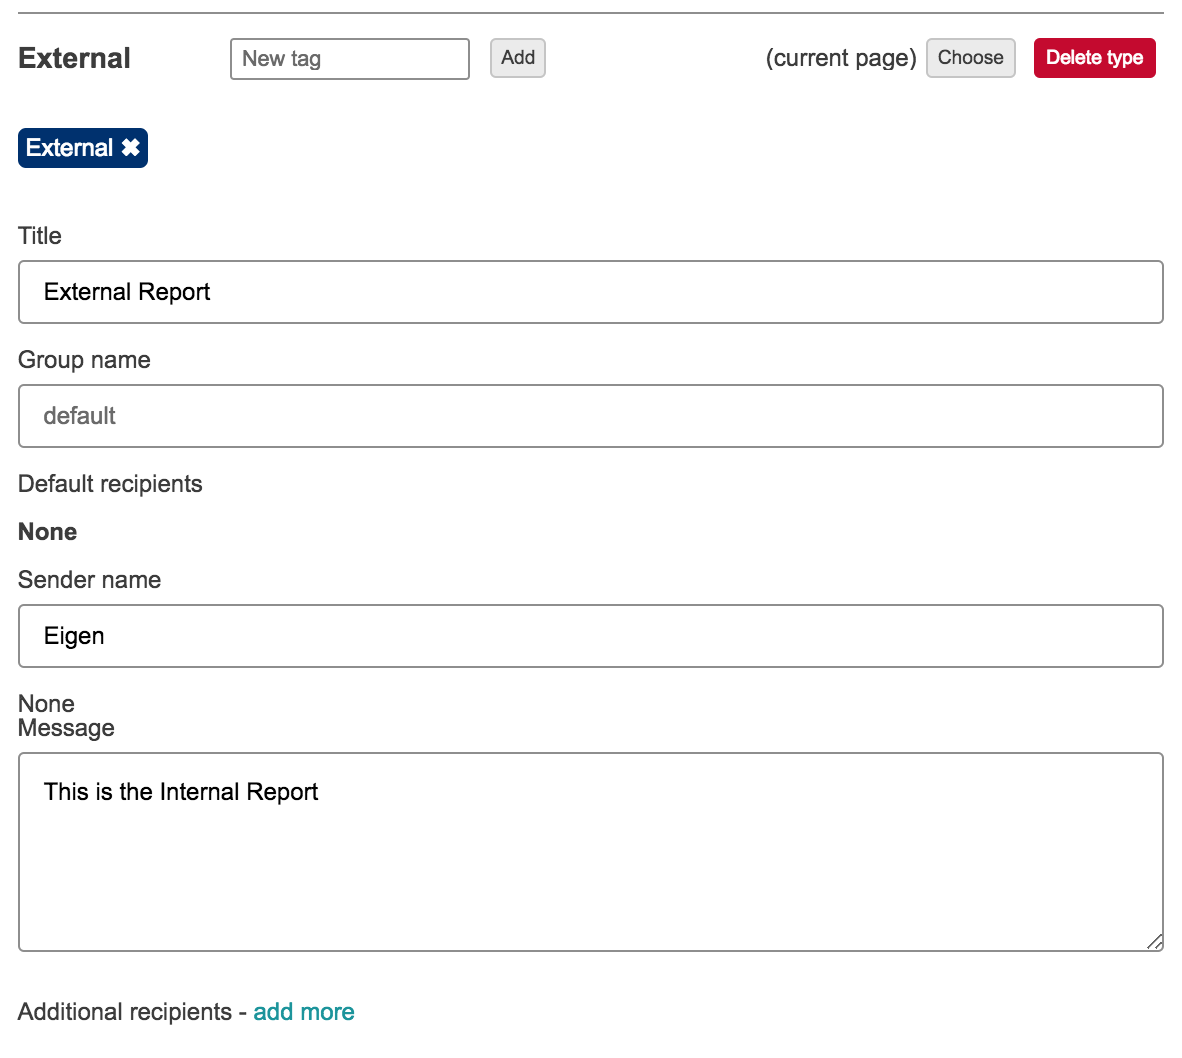
STEP 7 - ADD RECIPICANT'S
- Here were are going to configure the email address we want the reports to be sent out to when they are created. You will need to configure this for all the reports created.

STEP 8 - CHECK THE TEMPLATE MACRO
- Once this is complete your template macro is configured and should display the different versions you have created.
STEP 9 - ADD TAGS TO ALL THE MACROS ON PAGE
 Locate this icon on all the macros
- Add the relevant tags that you created for your reports into each macro. Note if you want something in both reports you need to add both tags
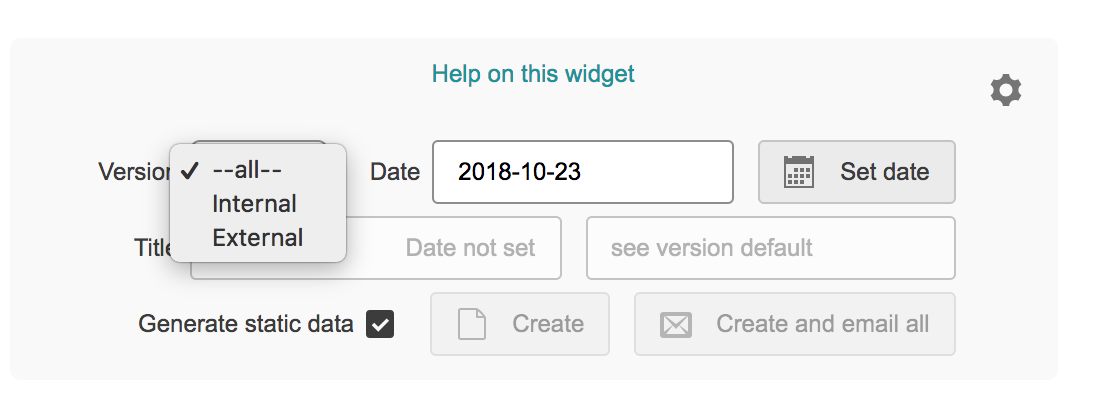
STEP 10 - CREATE REPORTS
- Your now ready to create your reports
- First set the date
- then select the version you want to create
- then select create and email all.
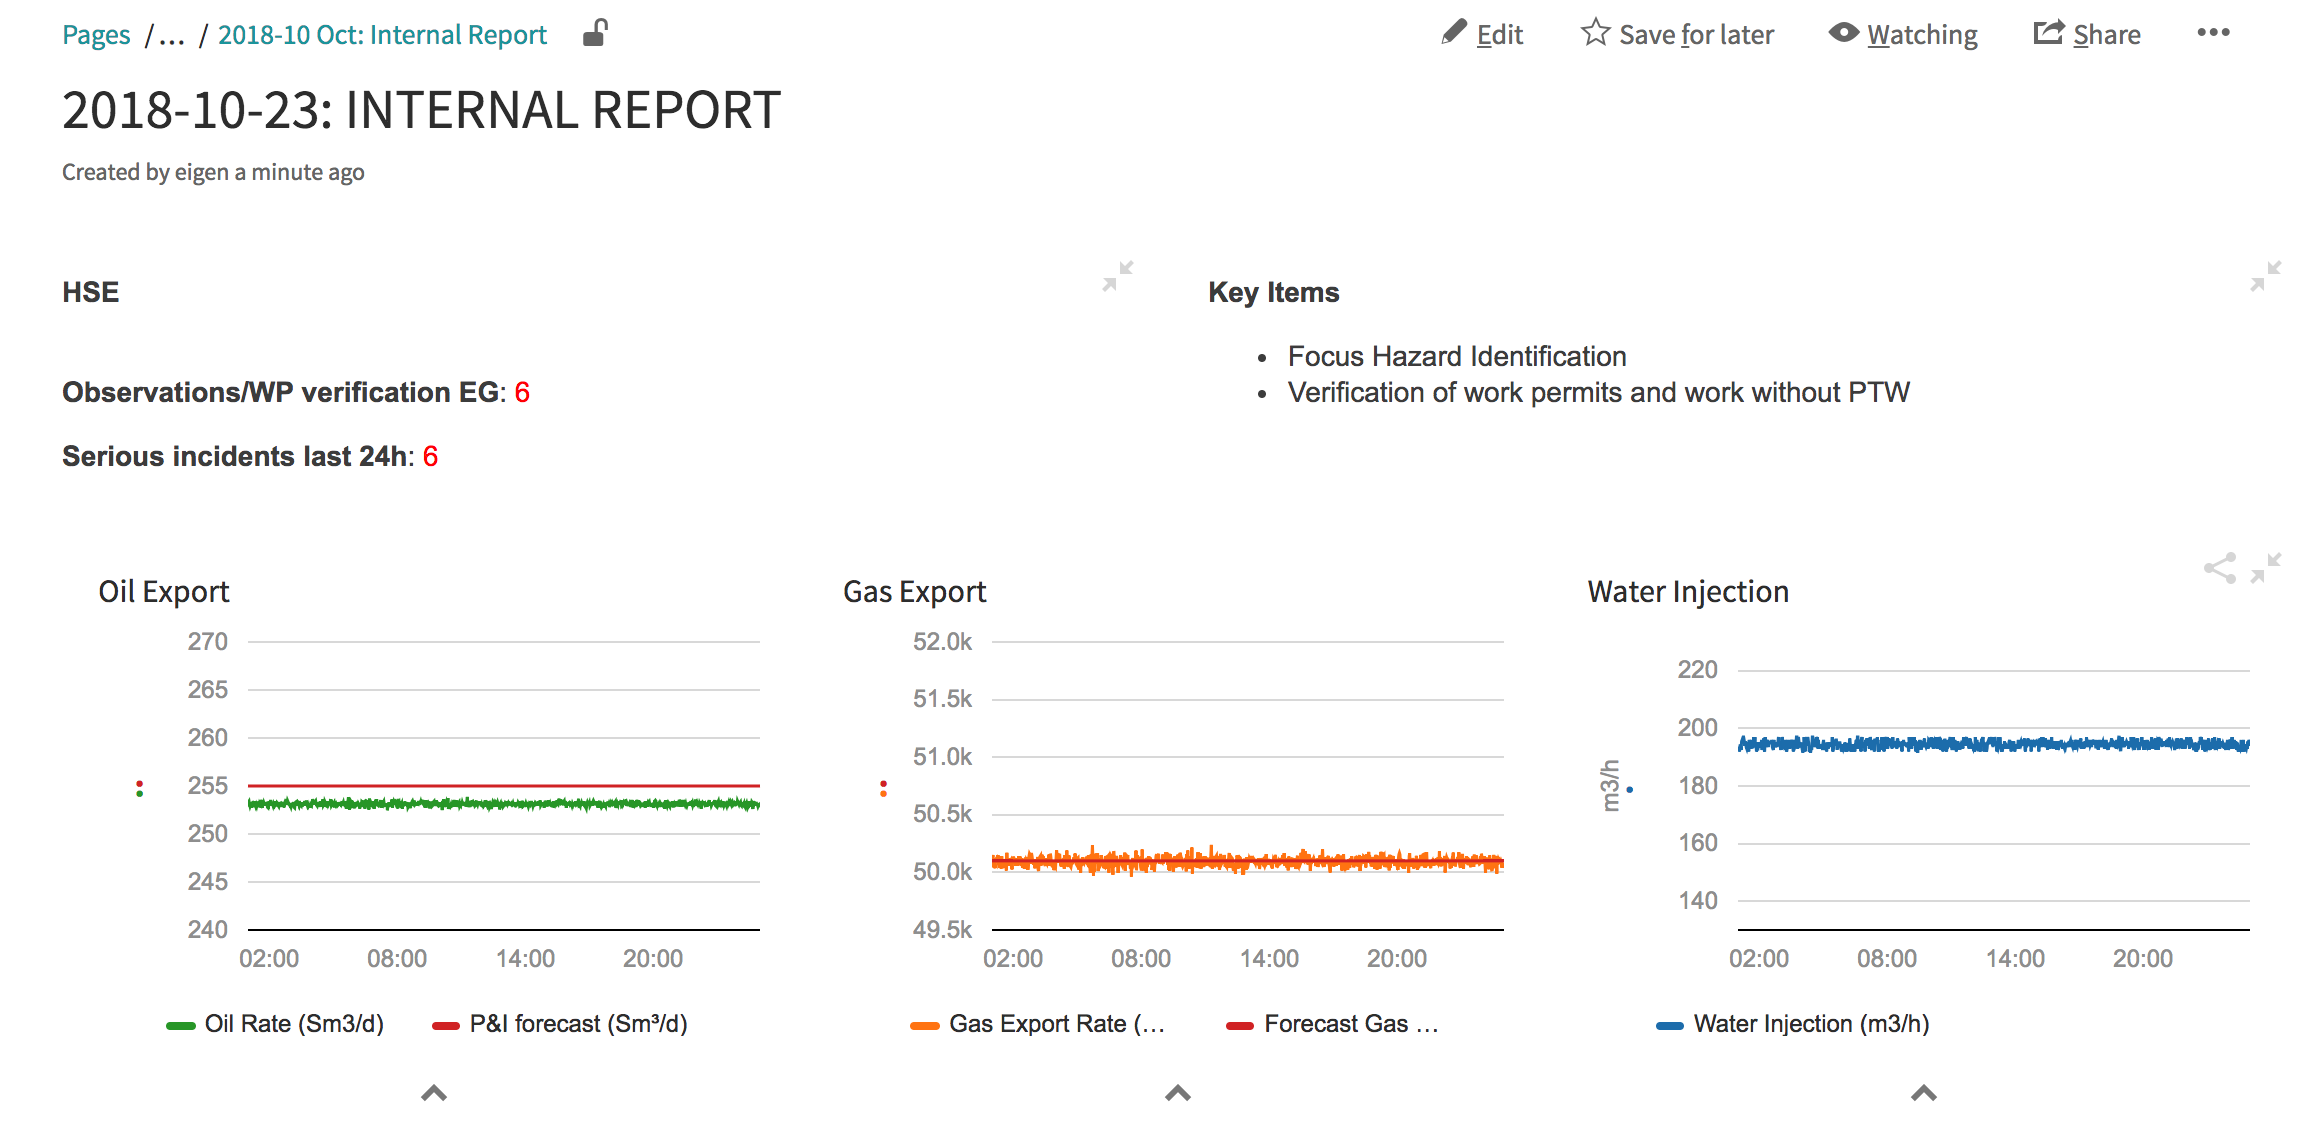
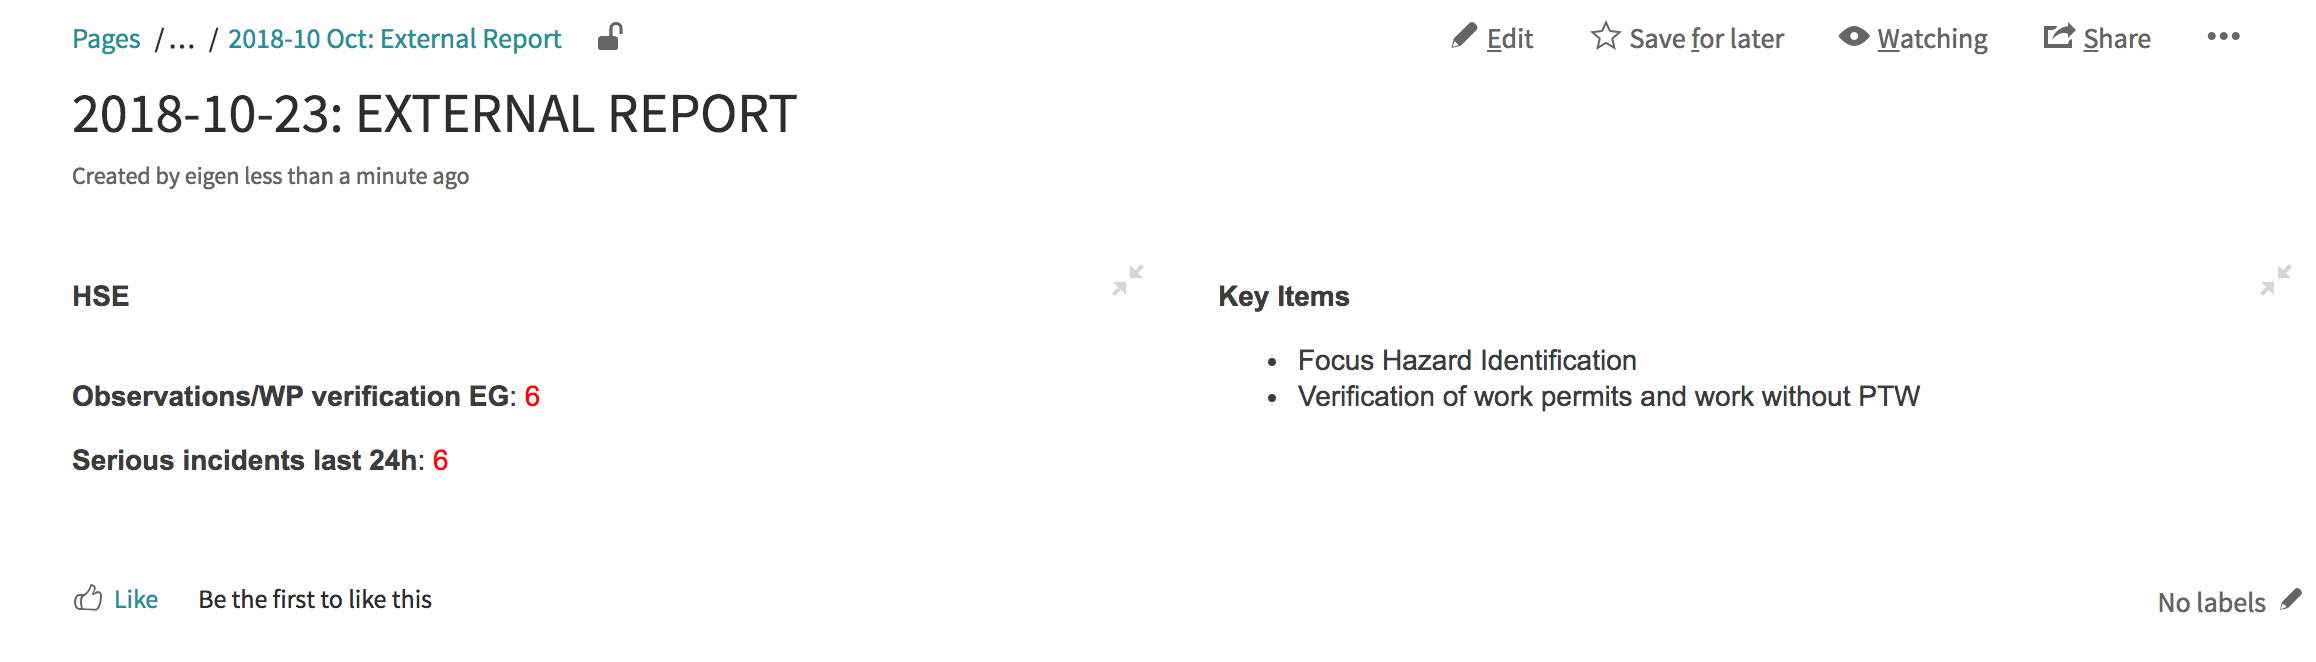
STEP 11 - REVIEW REPORTS
- review your reports

External
Internal